
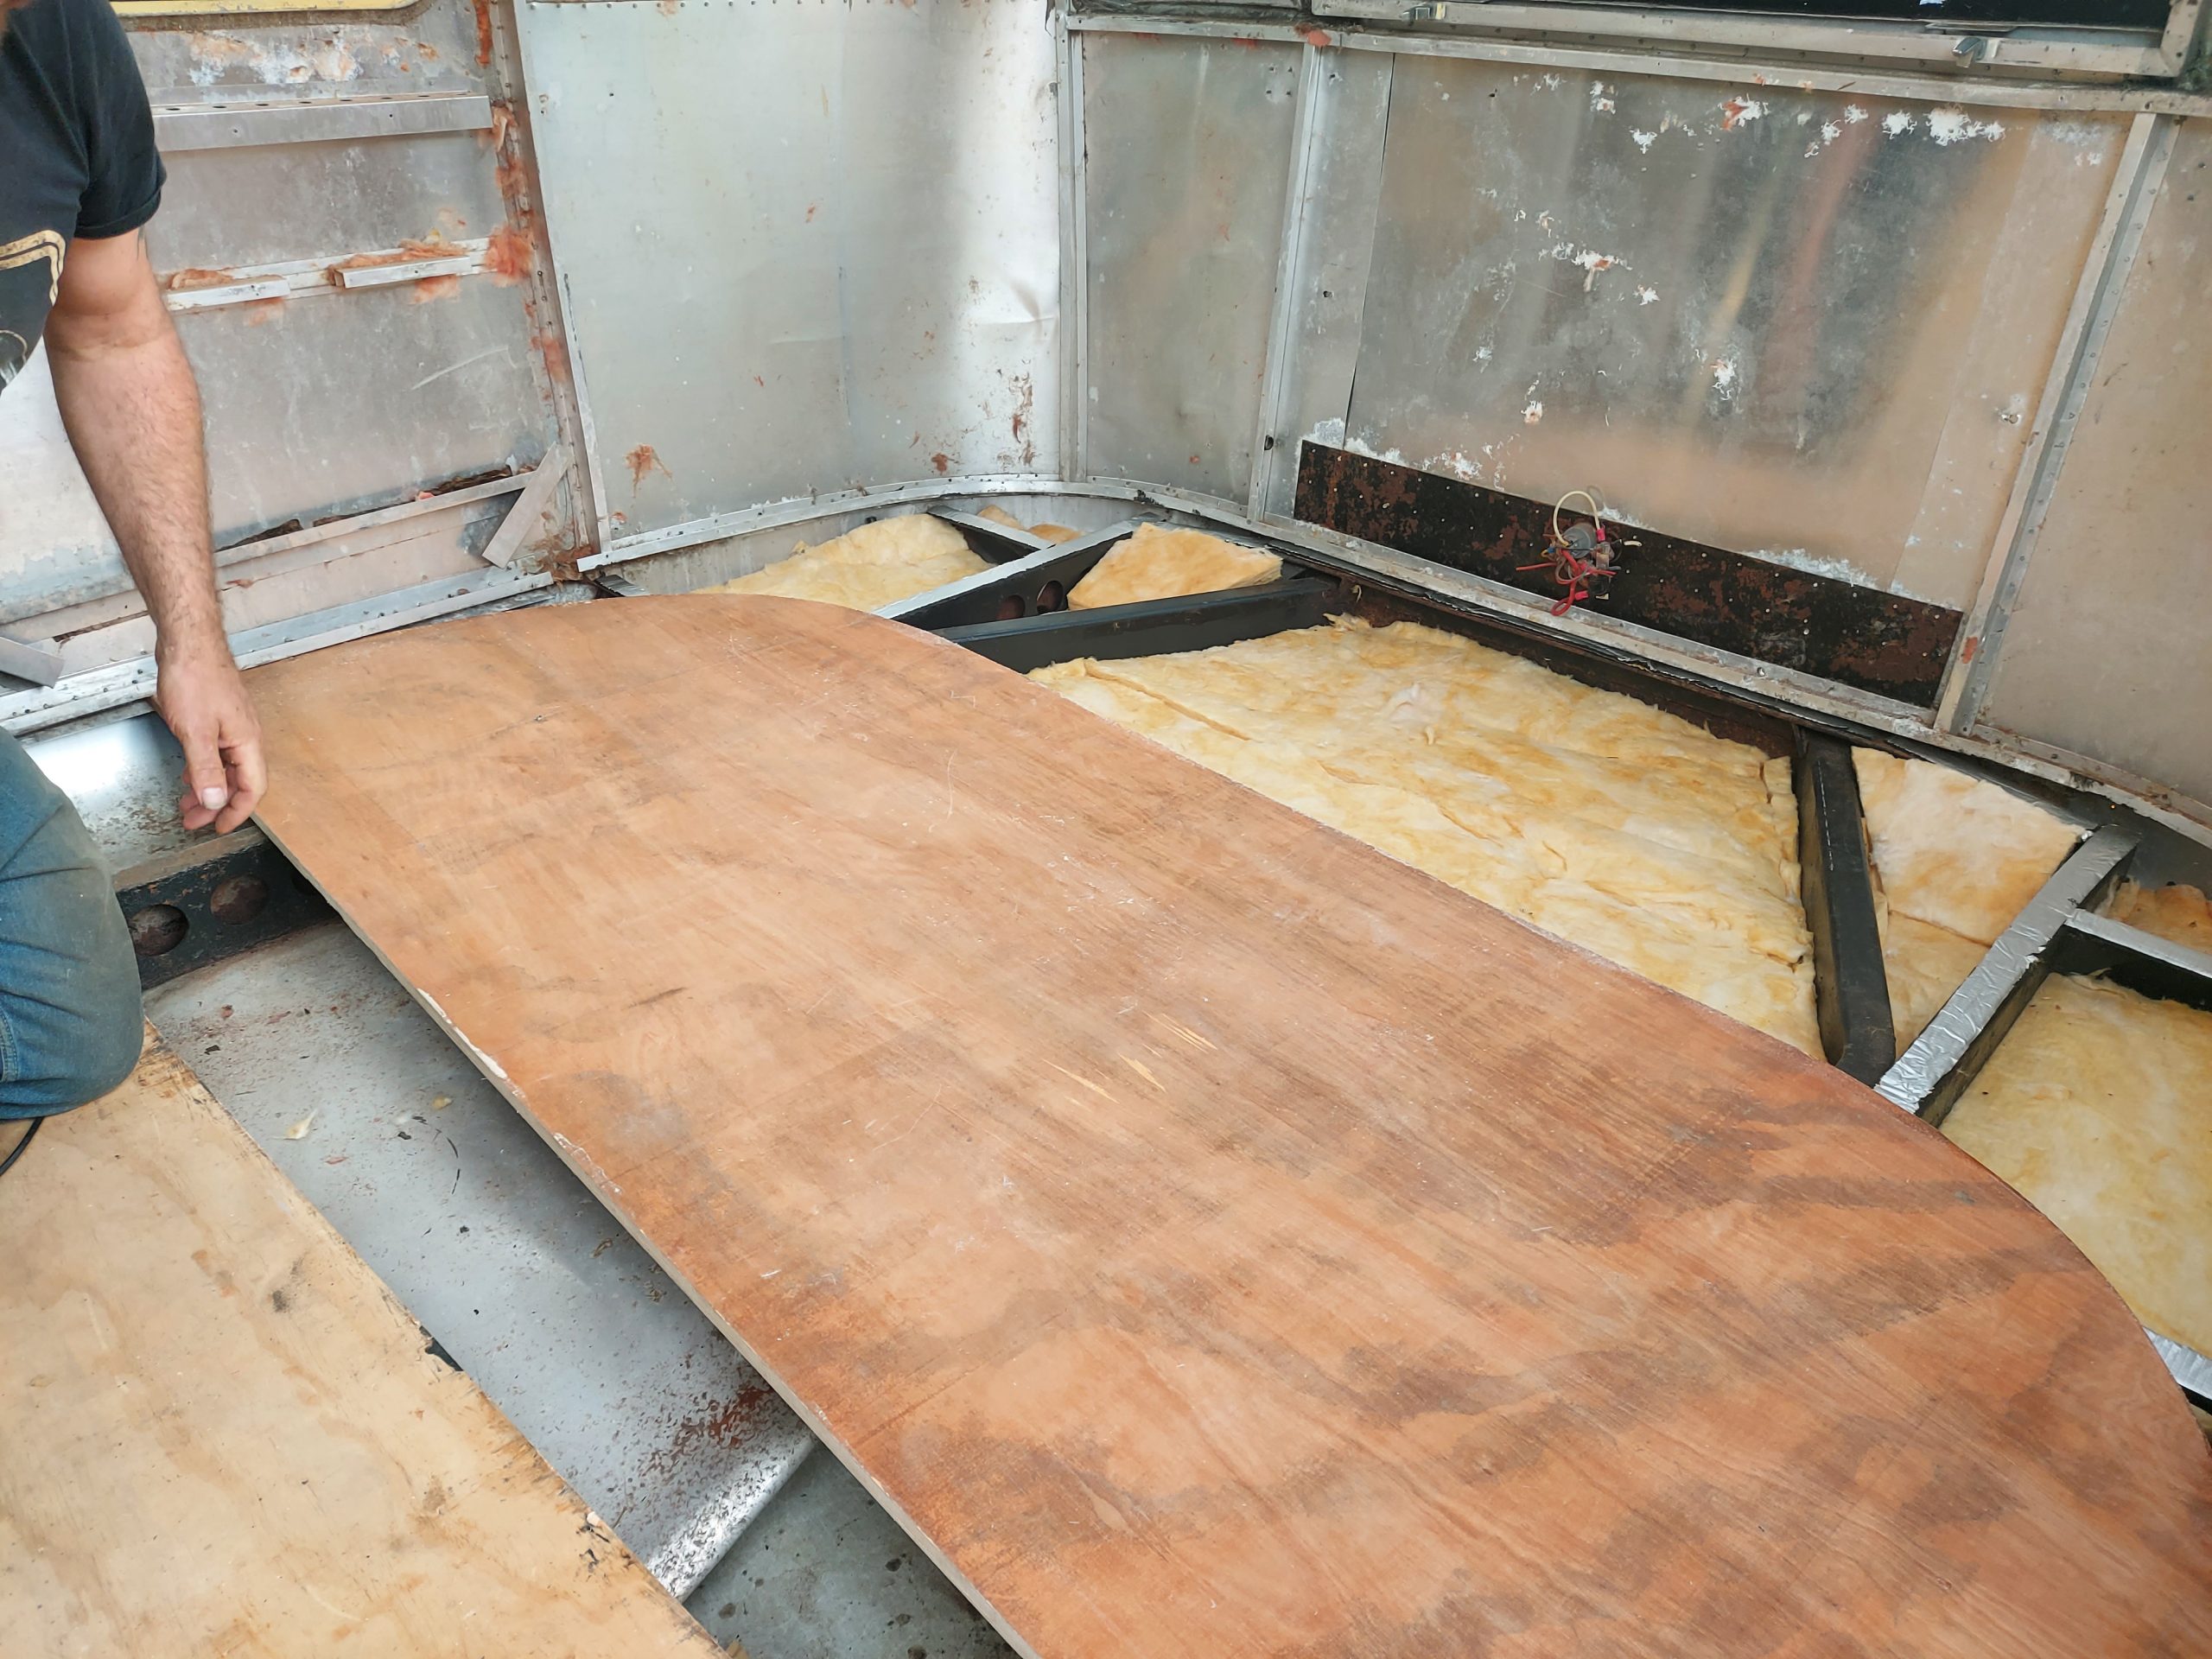
We have seen elsewhere on the internet where braver people than us have lifted the whole of the superstructure away from the chassis to allow a clear run at replacing the deck. We decided not to do that as we are working outside, and it seemed like quite a faff.
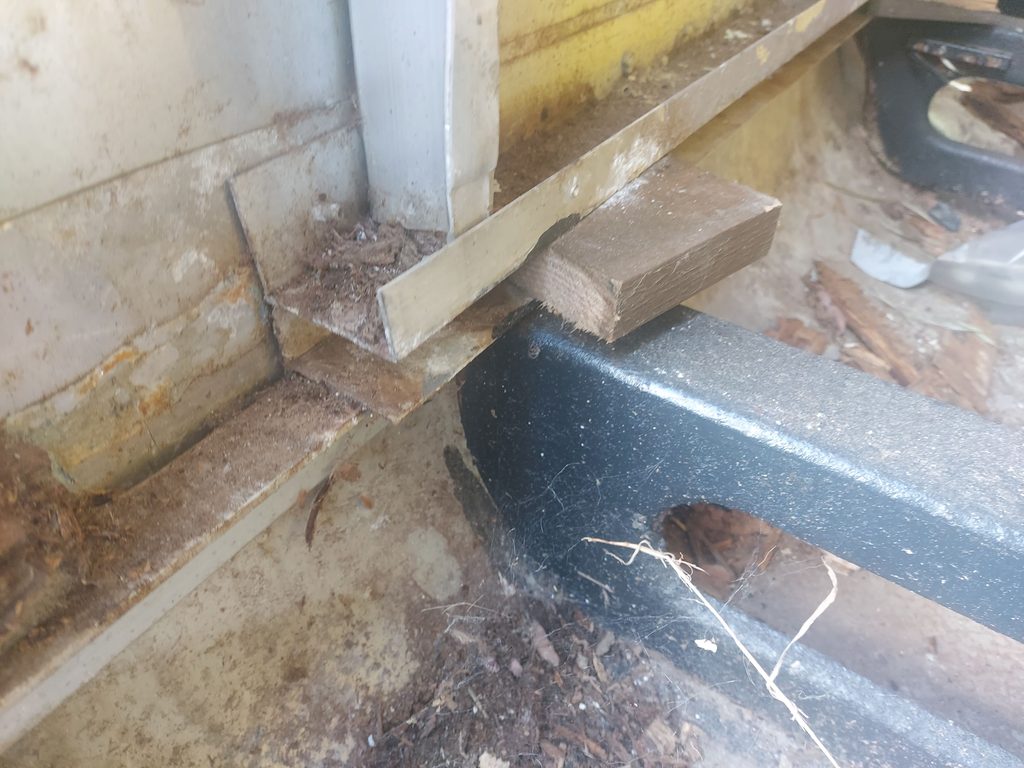
Therefore, we were faced with somehow sliding the new floor into the gap between the chassis and the floor-rail of the bodywork. The first step was to hold the bodywork up at the right height. We used small blocks of wood.
We were keen to use one sheet of marine grade plywood for the full width of the floor. We felt this would give a stronger deck to the trailer than having a joint running somewhere down the length of the floor.
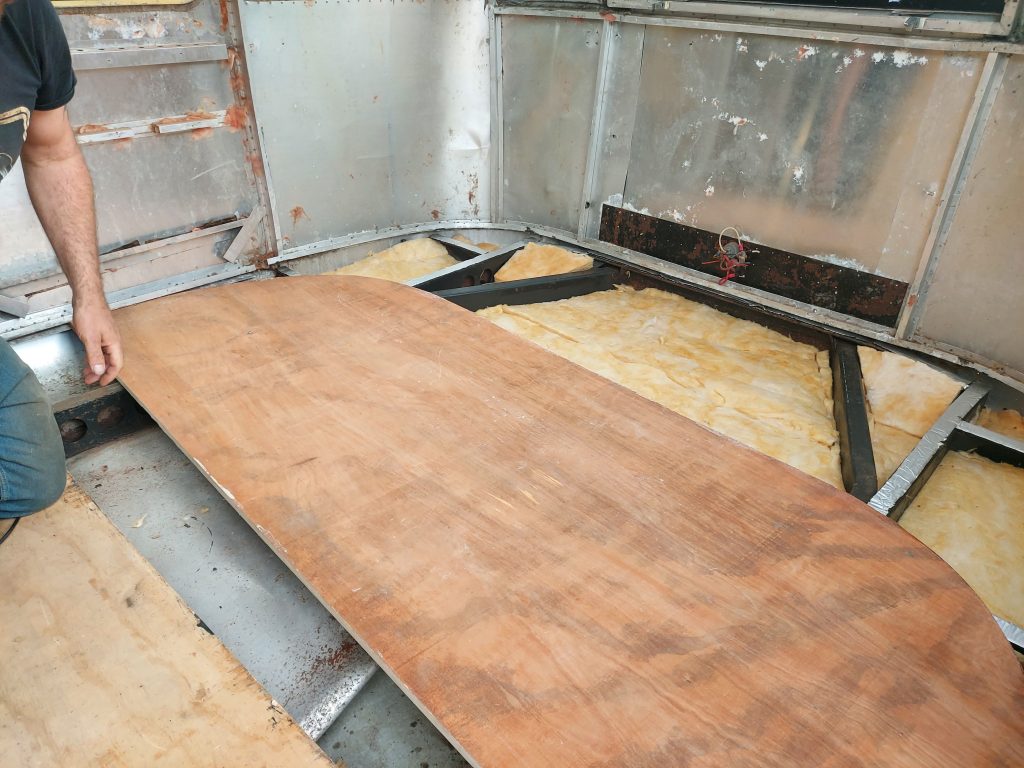
Here you can see the shaped board for the front of the floor. You will also notice the shiny strips along the top of the chassis, and the insulation under the floor. These are to keep the floor from growing cold during the chilly English nights.
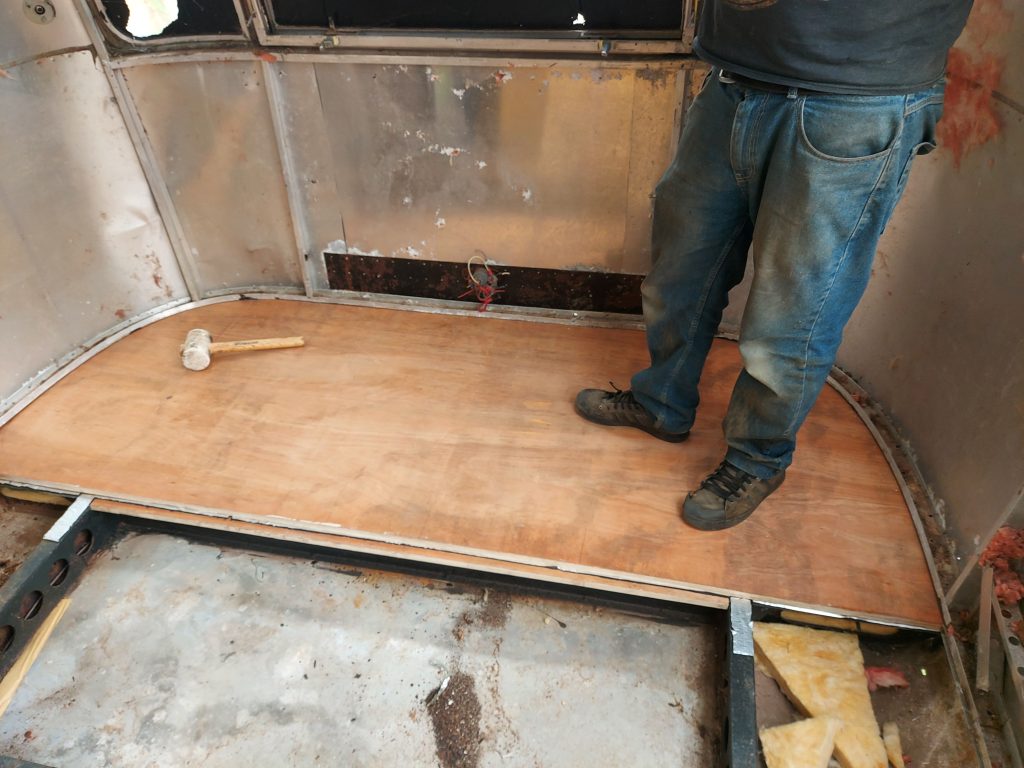
That is nicely tapped forward so that it fills the space under the lower body rail all the way around. Look how the chassis cross-members are 2 feet apart and magically locate directly under the edge joints of the boards.
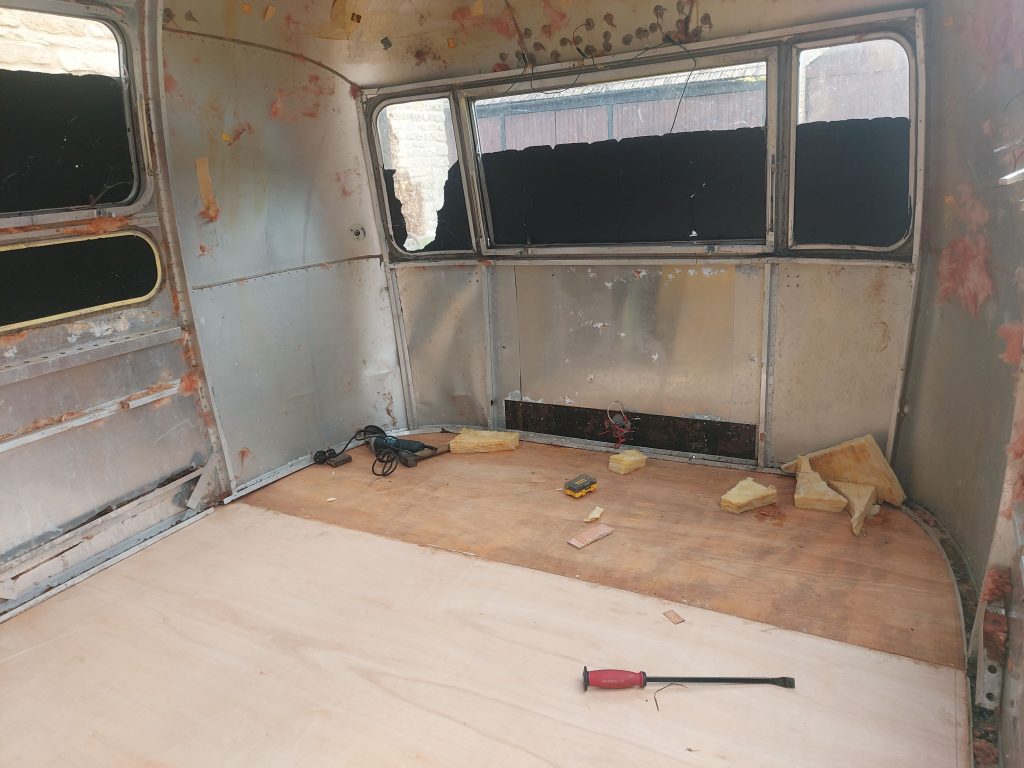
Ahh, coming together nicely! We have been asked how we managed to get an 8 ft board to fit under the wall when the gap is 7 ft 8 inches? The outside of the wall is 8ft! However. the wall is not actually fixed to anything right now… so we used the pry-bar in the picture just to ease the wall out enough to squeeze the board down. As soon as we released the pry-bar, the wall sprang back into line, located above the newly laid plywood.
That’s it for this time. I know I promised to reveal what we decided to do about the American axles with electric brakes…. that will be the topic of our next post, and I mean it this time!
PS. For those of an English or European disposition, 8ft is 2440mm